
You’ll almost always need to modify your theme’s looks or how it functions because, let’s face it, there is no theme out there that is perfectly tailored to fit our needs.
To safely customize the design of your site, you should always use a child theme.
In this article, you’ll learn what a WordPress child theme is, when to use it, and how to create one.
What Is a WordPress Child Theme?
You can think of the child theme as a copy of your parent theme that inherits its functionality and design.
Using a child theme allows you to modify or add to the parent theme’s features without directly editing its files, eliminating the risk of losing the change you applied when you update the parent theme.
Why Do You Need to Create a Child Theme in WordPress?
If you are running a WordPress site, you’ll likely modify or add to your theme files to customize the design or add new features. For example, you might want to add a sticky header with a call to action button to enhance user engagement. You can do this by modifying the header.php file. Or perhaps you want to have a dedicated portfolio section with filtering options and lightbox pop-ups. In this case, you would:
- Add a new template part (e.g., portfolio.php) to house the portfolio section and control the grid structure
- Write custom JavaScript and CSS files to handle filtering and lightbox pop-ups
- Modify the functions.php file to register and display the “Portfolio” custom post type that will integrate with the parent theme.
However, all these modifications would vanish if you update your theme because WordPress replaces all theme files (including the ones you modified) with the new version of the theme files. And it would be hectic to reapply all the modifications and additions you applied to the theme each time you update it. The simple solution to this is using a child theme!
A child theme acts exactly like its parent theme and it inherits its functionality and style. Any modifications you apply to the child theme are kept separate from its parent theme preserving any changes you applied when you update the parent theme.
Besides preserving your modifications, child themes are a good starting point for learning how to develop themes as you are using the parent theme files as the basis and only focus on creating files that extend or tweak existing functionality and styles.
Now that you know why you need a child theme, let’s create one together.
How to create a child WordPress theme?
Before making significant changes to your site, you should always take a backup; creating a child theme is no exception. It is always easier to revert the changes you made to the site by restoring a backup than spending hours troubleshooting errors.
There are two popular options for creating a child theme. The manual method involves creating the files and adding the code yourself, and the automated method uses a plugin, which is a bit easier.
Before you start creating your own child theme, check if your theme developer offers a pre-built one that you can install and activate on your site immediately.
Create the Child Theme Manually
Creating a basic child theme is as easy as creating a child theme folder in the /wp-content/themes directory and adding the styles.css and functions.php files.
In our example, we’ll create a child theme for the
Twenty Twenty-Four theme. However, you can follow the same steps to create a child theme for any theme on your site.
Here are the detailed steps you should follow to create the child theme:
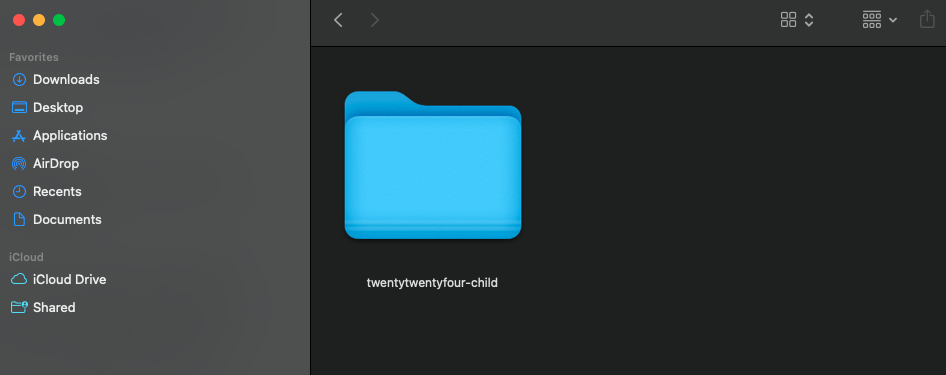
- Create a folder for the child theme on your computer. Name the folder after the parent theme name and append “-child” to it. In our case, the folder name will be “twentytwentyfour-child.” Later, we’ll install and activate the child theme on the site.
- Inside the child theme folder we created, create a style.css file. This file will contain all the CSS rules for your child theme and the code telling WordPress which parent theme to connect this child to.
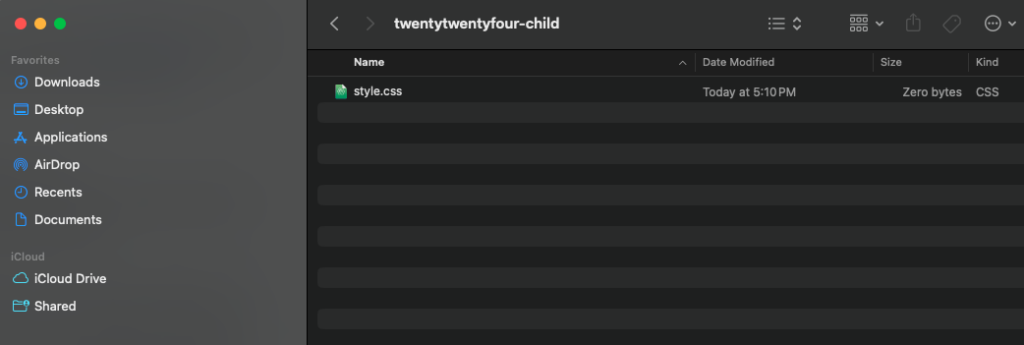
- Open the style.css file using your code editor of choice and add the following code:
Let’s go through each of those lines to clarify their function:
- Theme Name: The unique name of the theme displayed on the “Themes” screen in the WordPress dashboard
- Theme URI: The theme code or documentation page
- Description: This is the theme description displayed when the user clicks on the “Theme Details.”
- Author: The author of the theme. Since you created this child theme, add your name here!
- Textdomain: This is a unique identifier used for internationalization and localization (aka translation).
- Author URI: The link to the author’s website. Feel free to add a link to your site here.
- Template: This is the name of the parent theme folder.
- Version: The version of your child theme. You can start with v1.0.
- License: The license of your child theme. All WordPress themes fall under the GNU General Public License (GPL). Copy the same license your parent theme has here.
- License URI: Link to theme license. Again, copy this from your parent theme.
Now that you know the function of each line, you can add your own child theme details. Once you are done, remember to save the file.
- Create the functions.php file inside the child theme folder.
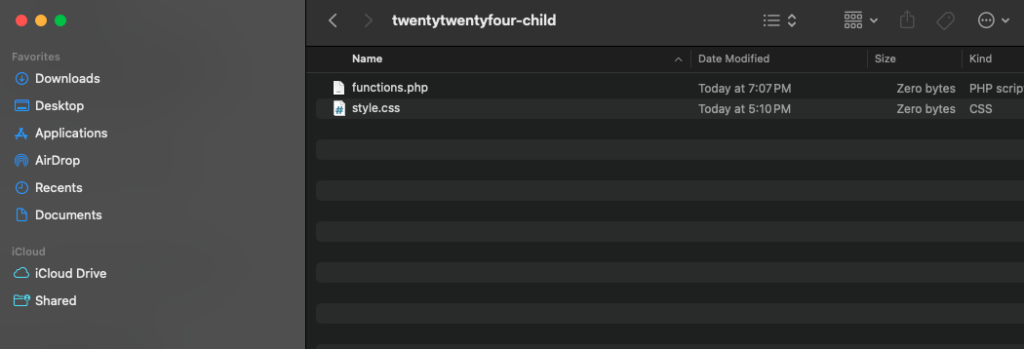
- Open the file using your code editor and add the following code:
With the code above, the child theme will inherit the styles from the parent theme while allowing the custom child theme CSS to override the parent theme style. Again, remember to save the file after adding the code.
- The last step before adding the child theme to our WordPress site is to compress the child theme folder as a Zip file. You can do this by right-clicking the folder and choosing the “Compress” option.

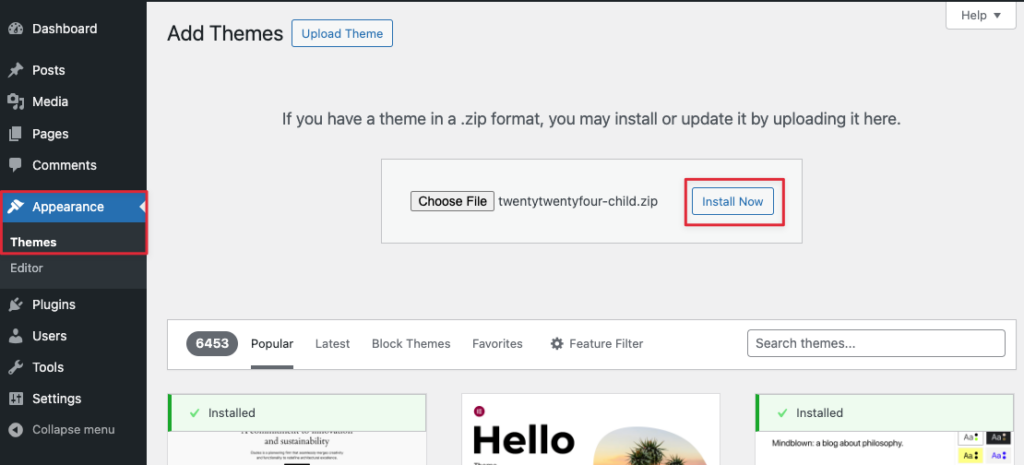
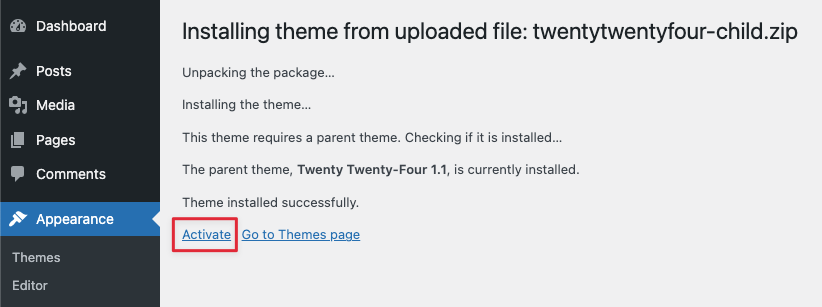
- Your child theme is ready to be installed and activated on your site. Navigate to Appearance > Themes. Click the Add New Theme button, then Upload Theme. Now upload the child theme Zip file using the file picker and click Install Now.
Once the theme is uploaded, click the Activate link.
With that, you have created a fully functional child theme that you can customize.
Create a Child Theme Using a Plugin
If you are uncomfortable creating the child theme using the manual method, you can use a plugin to automate the entire process.
There are many child theme creator plugins on the WordPress plugins repository. In this tutorial, we’ll use the Child Theme Wizard plugin, which is the easiest to use.
- On your WordPress dashboard, navigate to Plugins > Add New Plugin and type “Child theme wizard” in the search field. Click the Install Now button, and once the theme is installed, click Activate.

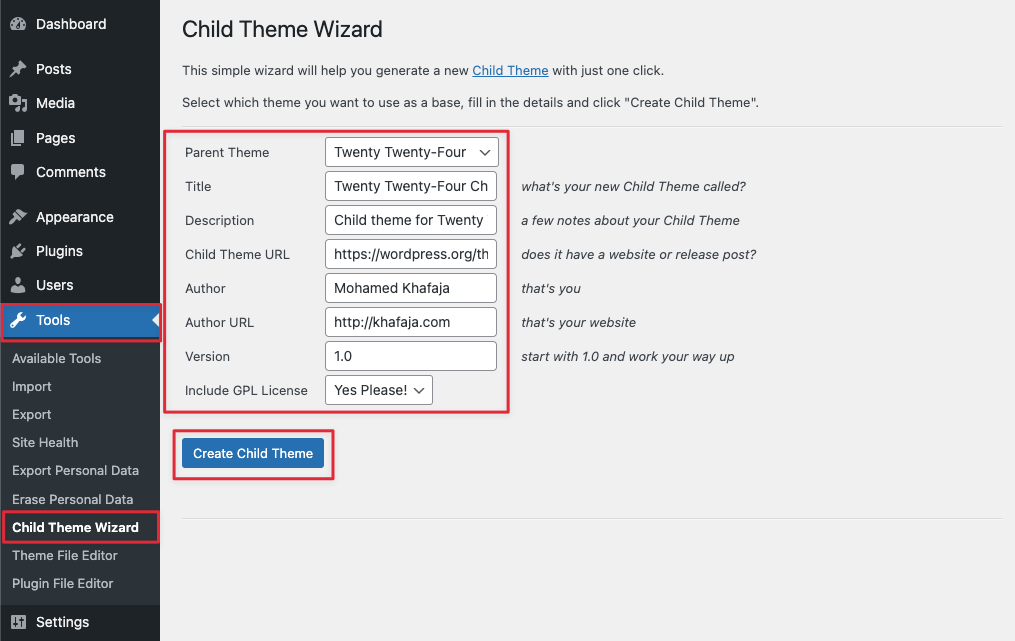
- Go to Tools > Child Theme Wizard. Choose the parent theme you want to create a child for from the “Parent Theme” drop-down menu and fill in the child theme details. You’ll notice that the details are similar to the information we added to the style.css file we created using the manual method. Finally, click the Create Child Theme button.
- Navigate to Appearance > Themes and activate the child theme generated by the plugin.
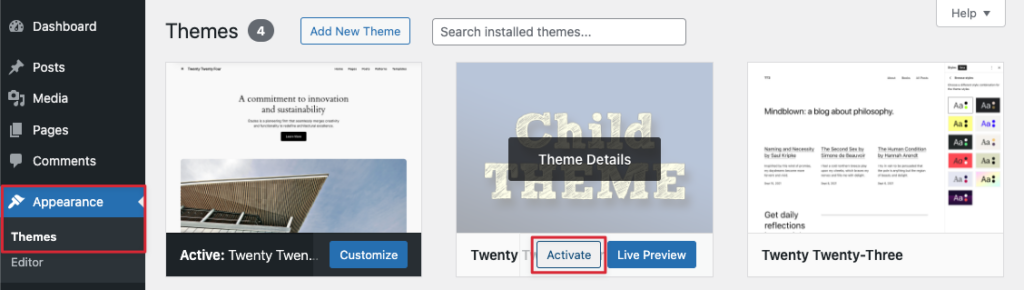
Viola! You have your child theme activated on your site in 3 steps.
Summary
Using a child theme allows you to safely customize your website without editing the original theme files.
The main benefit of using a child theme is that you do not lose the changes or additions you apply to the parent theme when you update it.
As you have seen in this tutorial, creating one doesn’t take more than 5 minutes, whether you create it manually or using a plugin.